Creating seamless textures from images is essential in fields like architectural visualization, game development, and digital design. However, achieving a high-quality, tileable result can be challenging due to visible seams, lighting inconsistencies, and perspective distortions.
There are several approaches to solving this:
-
Manual Editing – Traditional image editing software like Photoshop allows for seamless texture creation through offset adjustments, feathering edges, and blending. While this method offers full control, it can be time-consuming and requires expertise.
-
AI-Powered Tools – AI-driven solutions range from simple one-click tools, such as SketchUp 2025’s built-in feature, OpenAI GPT-4o (see @majidmanzarpour's prompt), seamless image generators for texture authoring, to highly advanced software like Adobe Substance, which offers procedural texture synthesis and in-depth material authoring. While simple tools may lack customization, advanced tools can have a steep learning curve and require specialized knowledge.
If these options don’t quite meet your needs, our seamless texture tool might help.
How to Create a Seamless Image with seamless texture tool

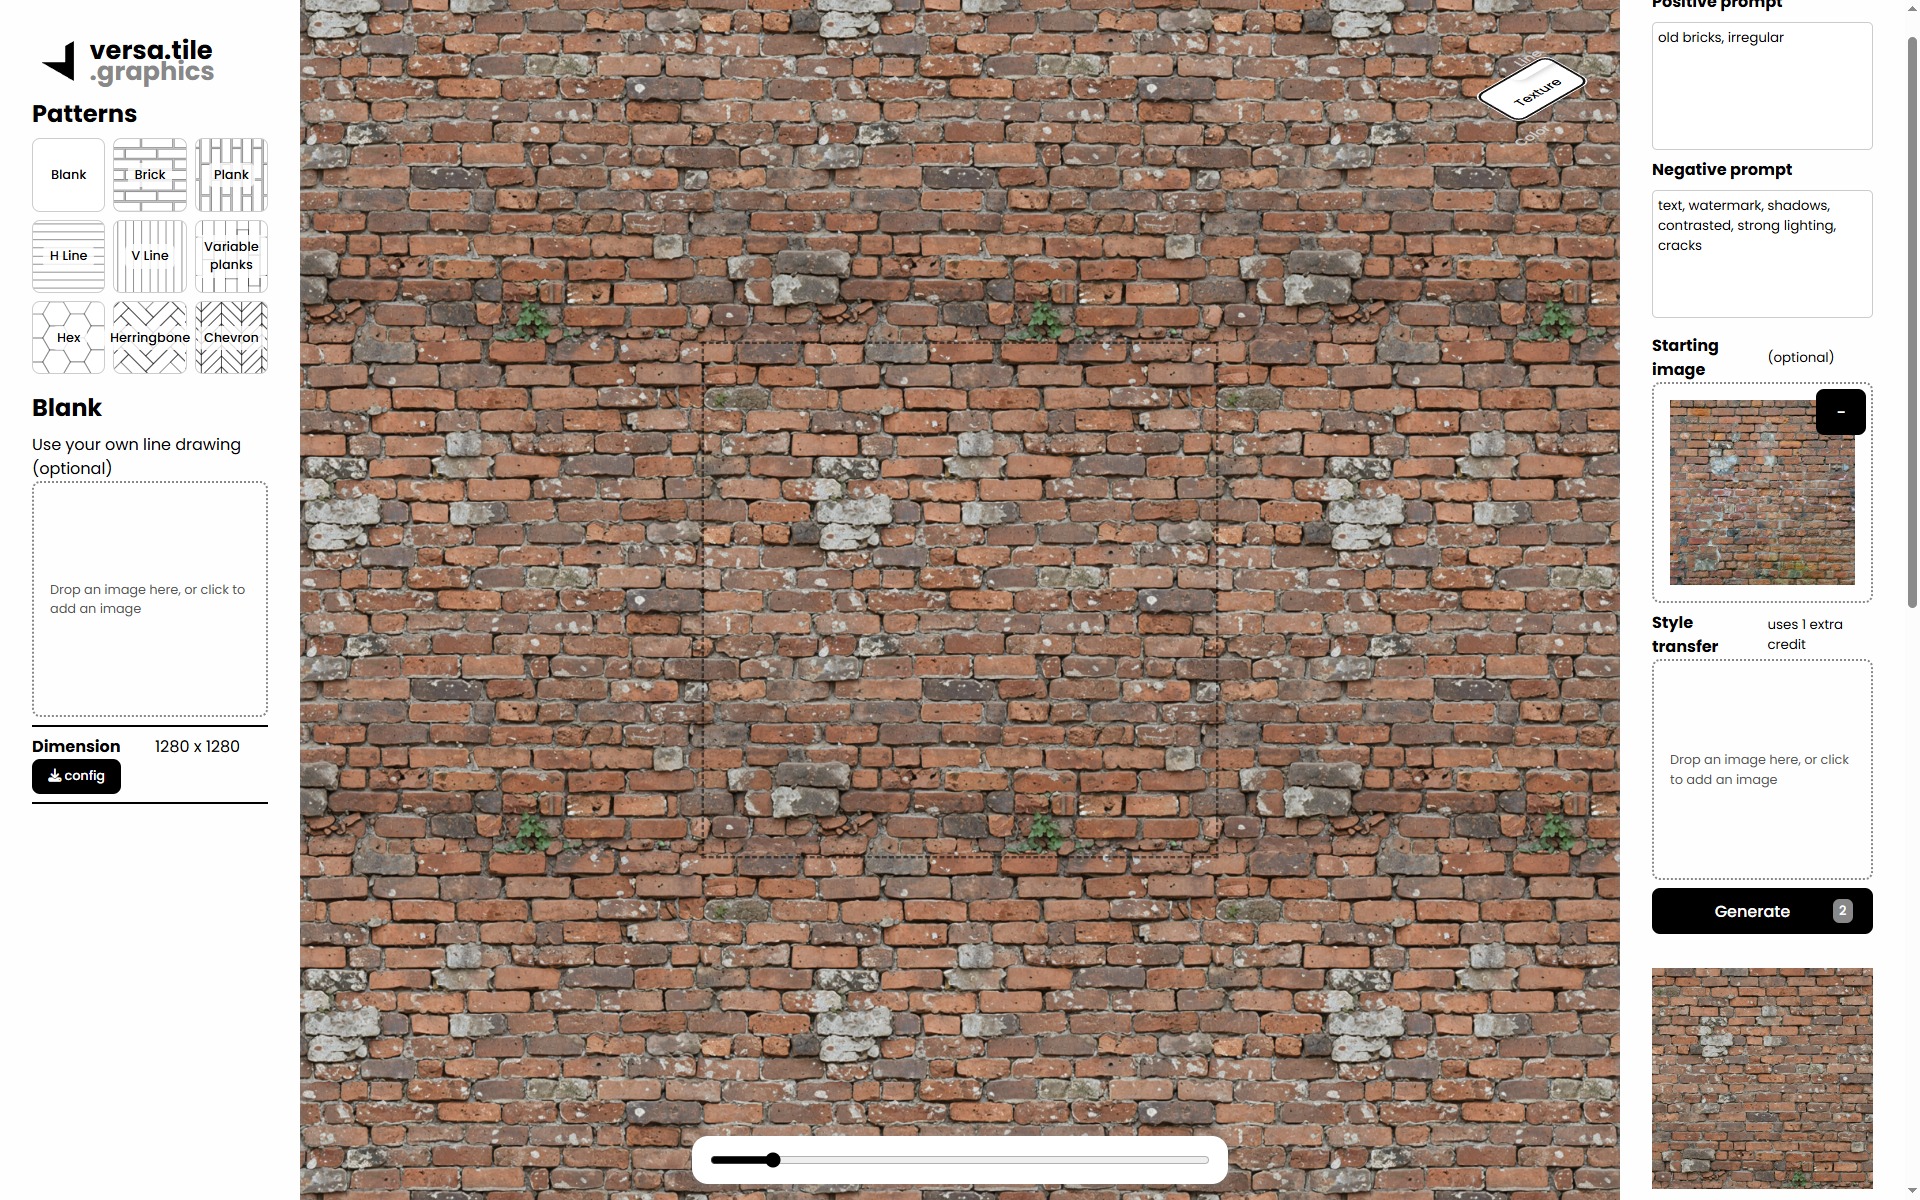
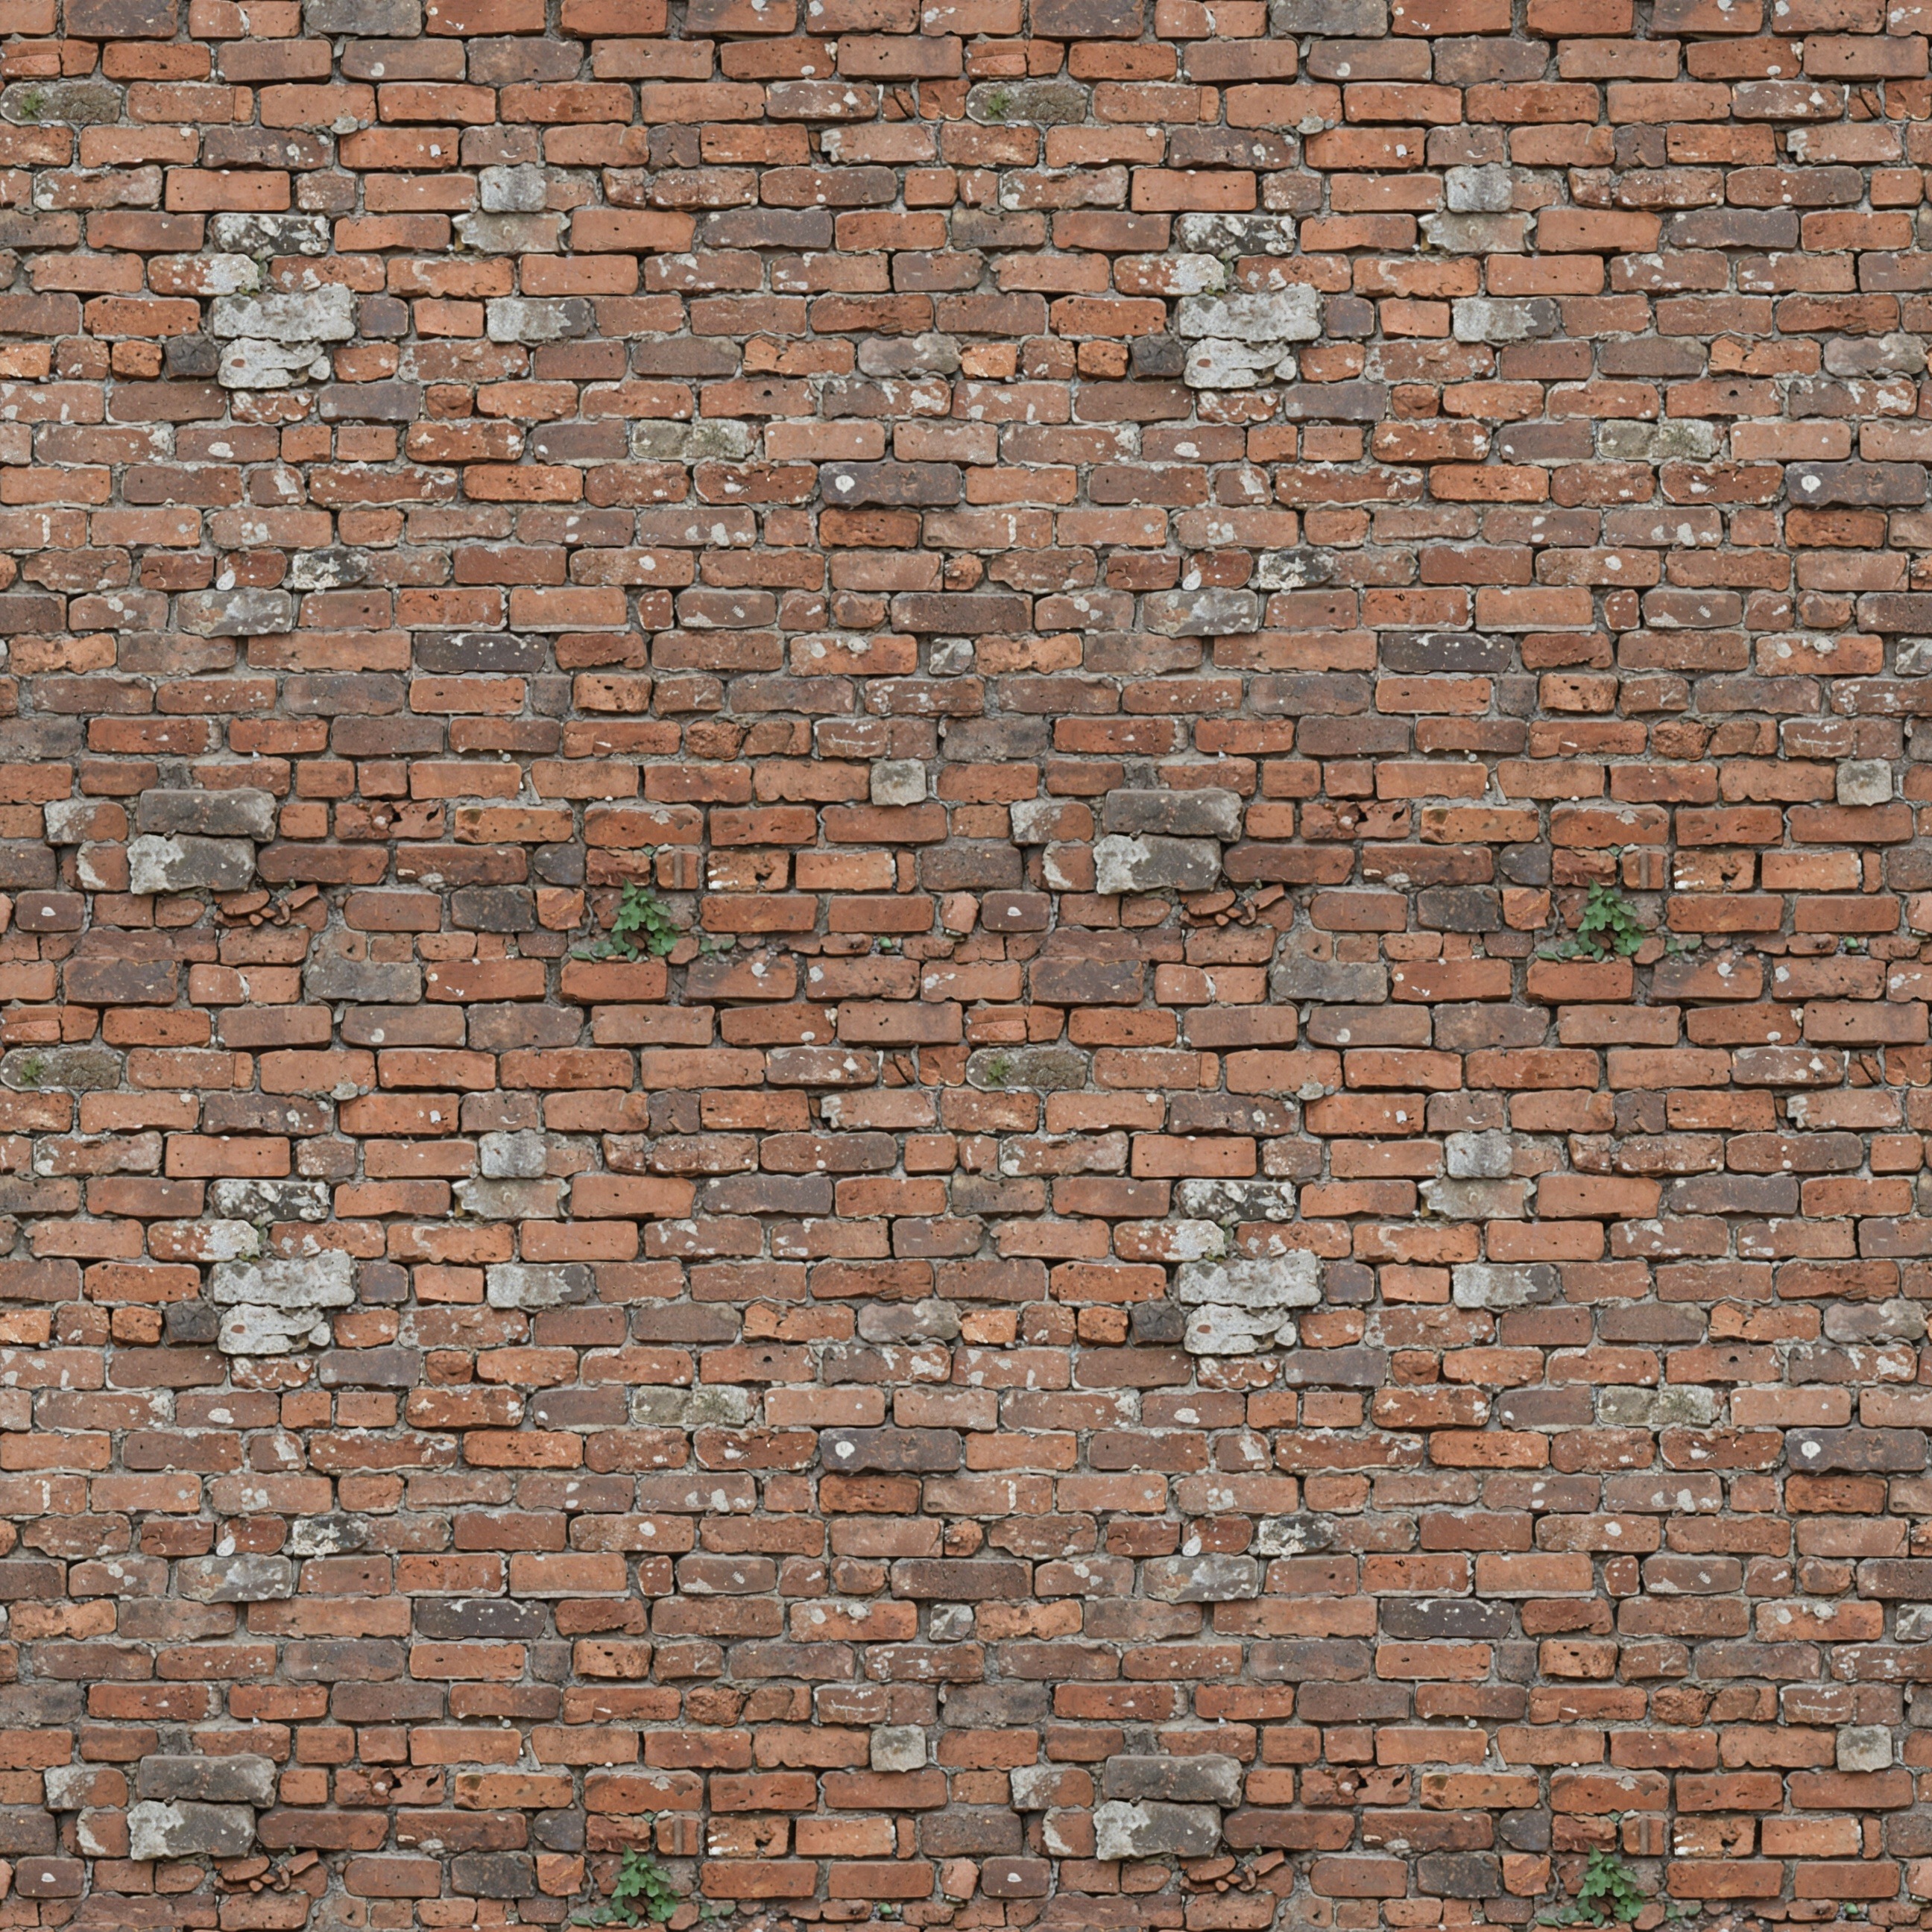
To transform a non-seamless image into a seamless image, add an image into starting image.
For the example shown above, the following text prompts were used:
Positive prompt: old bricks, irregular
Negative prompt: text, watermark, shadows, contrasted, strong lighting, cracks
Tips for Best Results:
- Choose an image that captures a large portion of the desired pattern.
- Correct any perspective distortions to ensure a straight-on view.
- Align the pattern as closely as possible to maintain consistency.
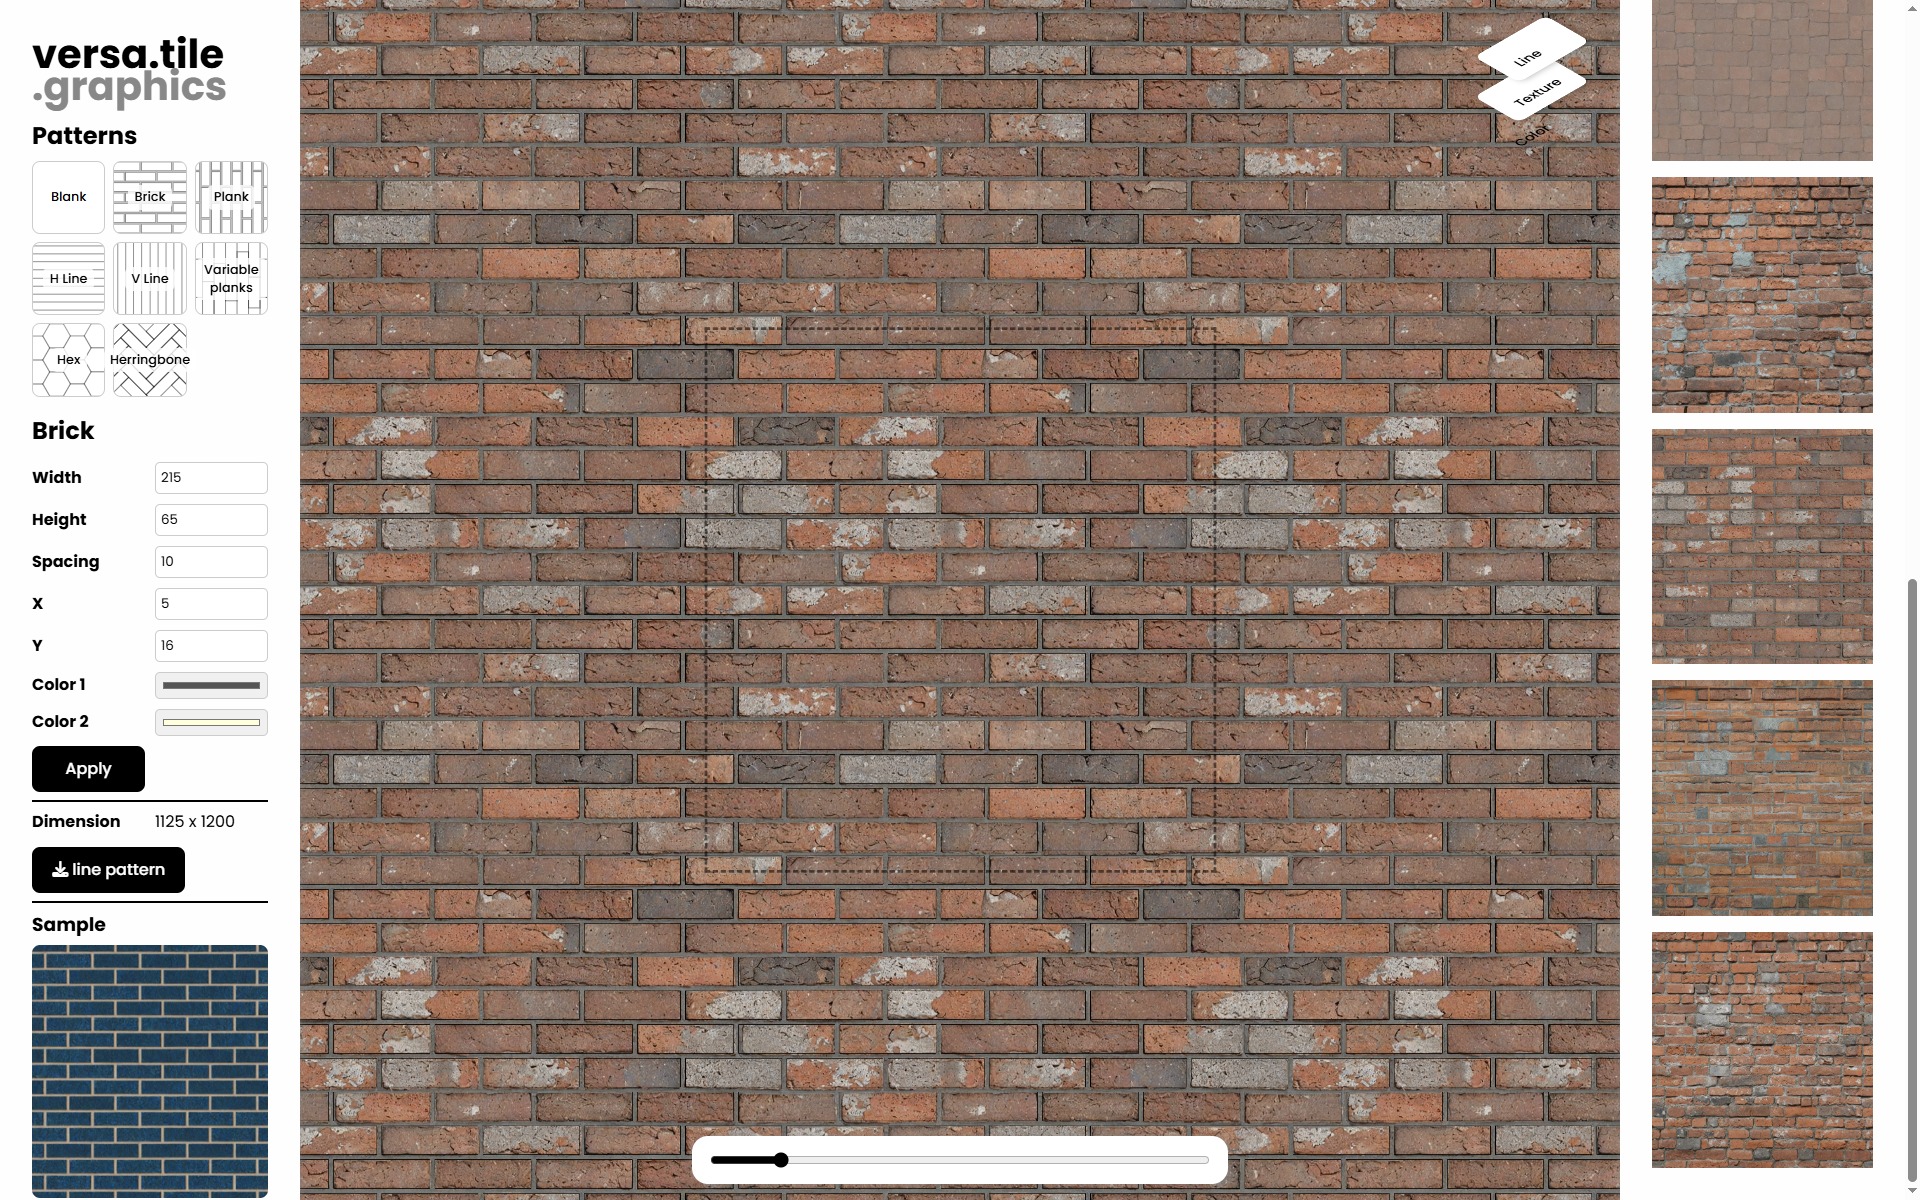
Enhanced Texture Design: Merging Starting Image with Line Pattern
Combining a starting image with a line pattern allows for greater control over the resulting texture, particularly when the output texture's dimensions are crucial. For instance, this can be seen with a uniform brick pattern applied to the same starting image as in the previous example.


